Lokivoré

mobile 04 23 245 466
Balnarring, Victoria
Publishing Services
Photography | Design | Editing | Studio | Apps | Contact
Picture Frame Calculator
Calculate frame and mat sizes for making picture frames.
Calculates a standard 1/8" (3mm) clearance
Use standard or paired mat styles
Enter imperial inch or metric mm measurements
Version 3.2 - for iPhone and iPad
"Calculating the size of a picture frame isn't difficult. Picture Frame Calculator just makes it quicker and easier, by allowing you to view the proportional balance between the picture, mat and molding sizes, and reducing the chance of a mathematical error."
Paul Robbins
Artistic Director, Lokivoré
User Guide
1. Unit of Measurement
Decide on your prefered unit of measurement, inch or mm, for entering picture dimensions and marking cut lengths.
Selecting inches allows you to enter fractions of an inch.
This App does not allow mixed units of measurement and changing the measurement unit will DELETE all measurements that are currently entered.
Alert! Picture Frame Calculator does NOT CONVERT metric or imperial measurements.
2. Entering Dimensions
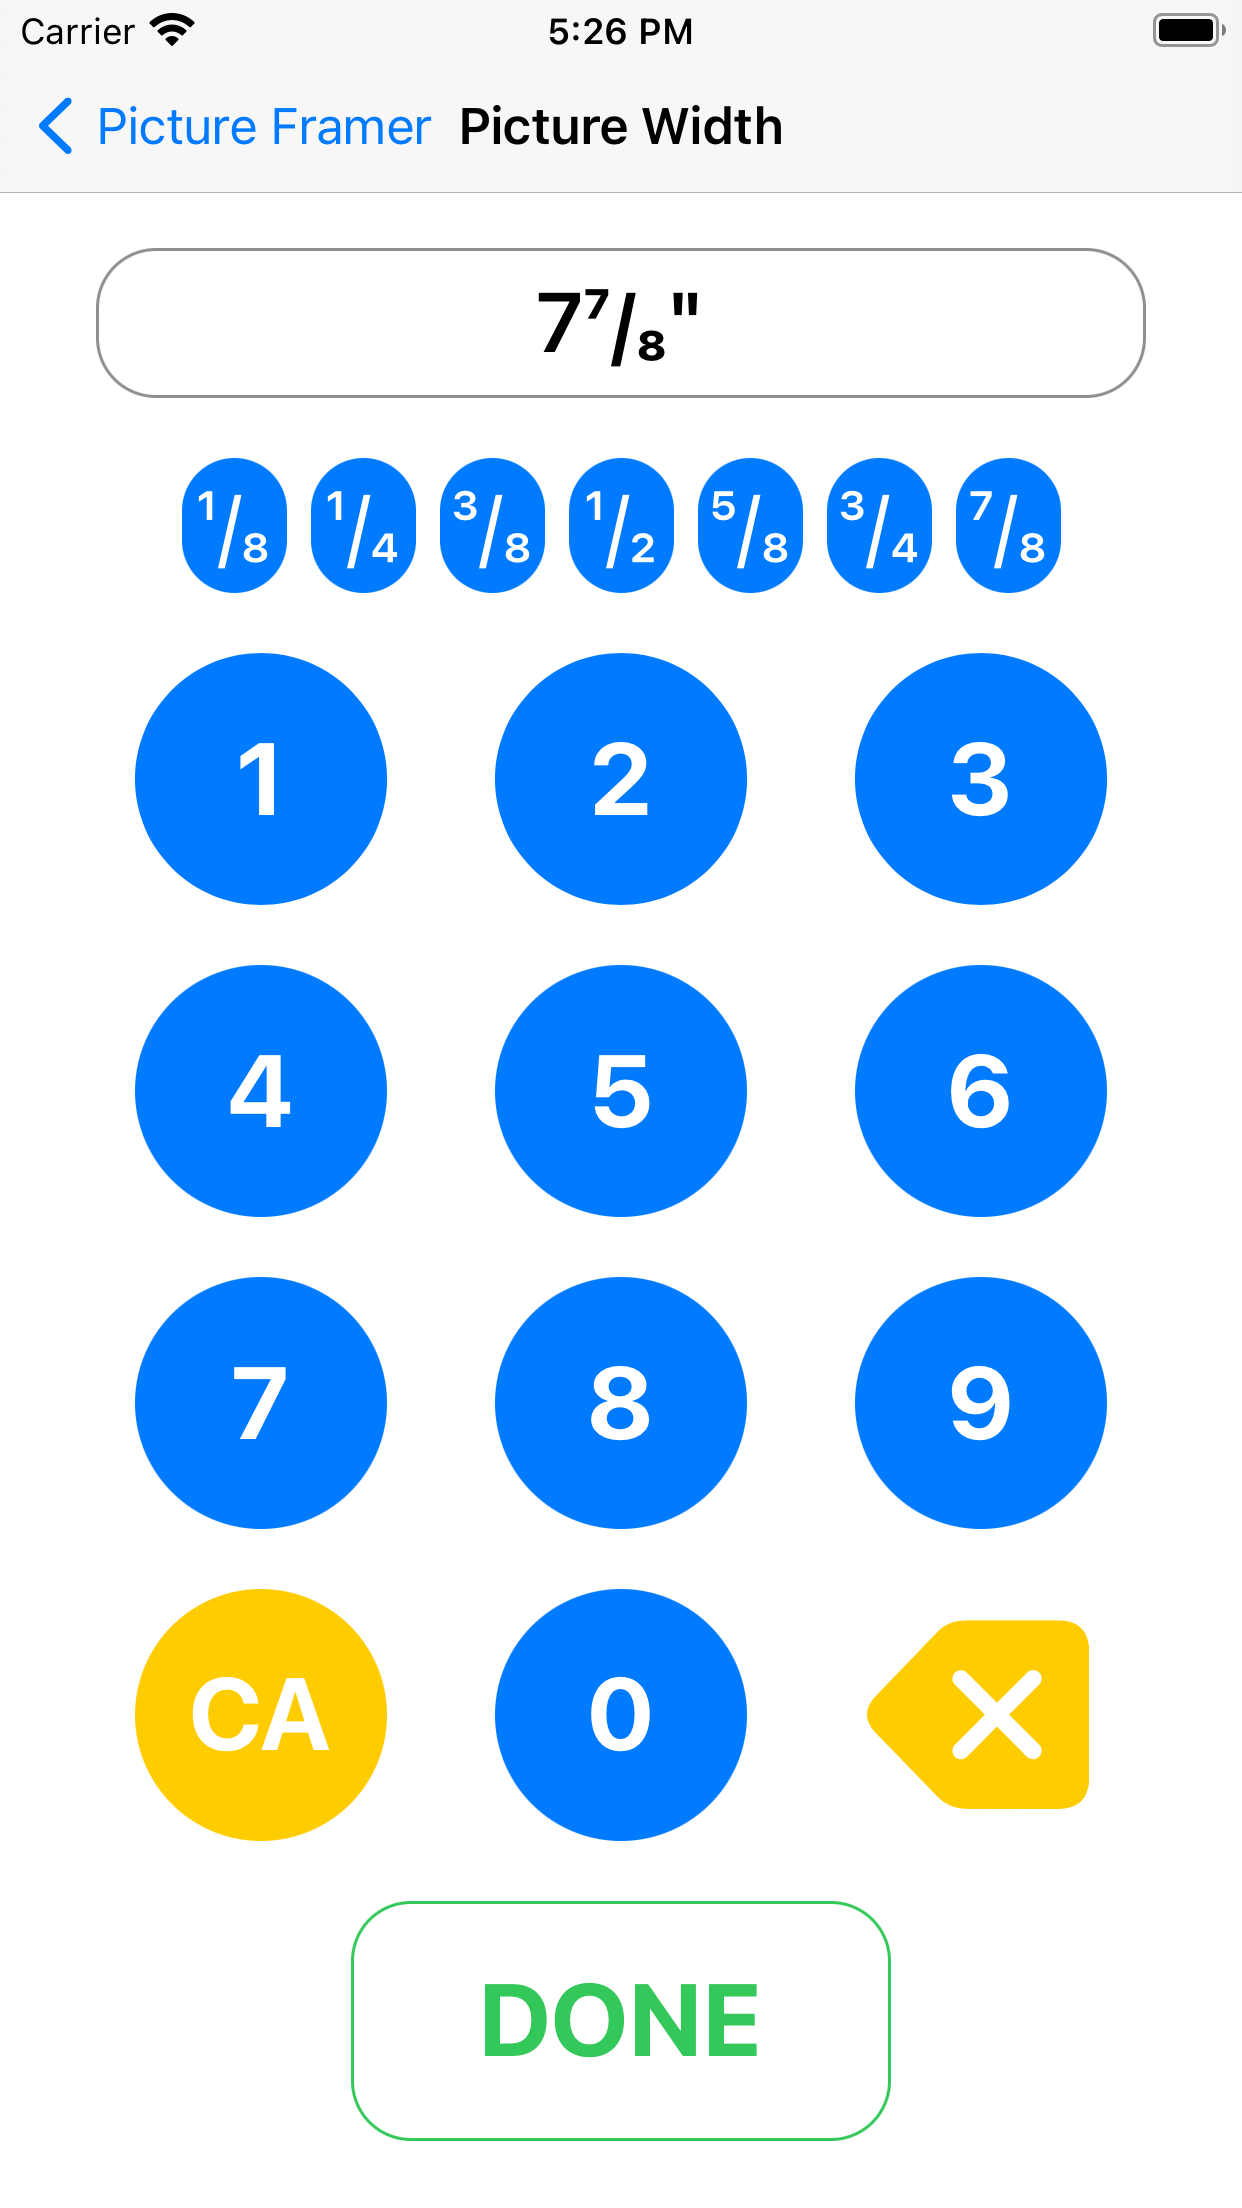
Tap on the dimension you wish to enter (blue text) and the number screen will open. See right.
The number screen shows the dimension you are entering at top center of the screen. In this example it is Picture Width.
Tap the numbers (and fraction if you are using inches) to enter your measurement. Use the yellow clear all 'CA' or backspace 'X' buttons to make changes. Tap 'DONE' to save your dimension and return to the main screen. Repeat process for all of your dimensions.
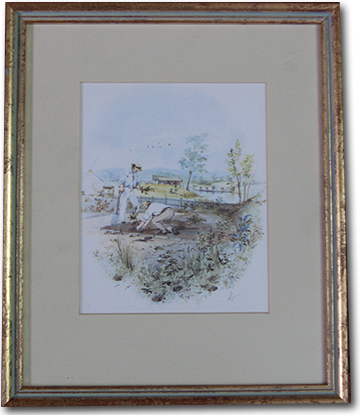
Picture with Mat:
When using a Mat, ensure your picture width and height measurements are for the visible area of the picture, not the physical size, because you will need the picture to overlap behind the Mat. A minimum overlap of 1/8" (3mm) is usually sufficient. For example, an 8"x10" print would be entered as wdith 7 7/8" height 9 7/8"
3. Mat Style
Enter the width of the Mat border you wish to see between the edge of the picture and the inner edge of the frame.
(a) No Mat: Clear All measurements for 'Mat Top-Bottom' and 'Mat Left- Right'.
(b) Mat with four equal sides: Enter the same measurement for both 'Mat Top-Bottom' and 'Mat Left-Right'.
(c) Paired Mat with different top-bottom/left-right pairs: Achieve a professional finish by slightly altering the width of the borders. Half an inch wider for one pair can make all the difference when hung on a wall.
(d) Zero Paired Mat: To create a zero mat on one pair of sides, enter the molding overlap width as the zero mat side. (ignore zero mat in proportion view).
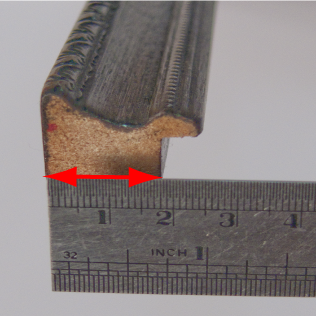
4. Molding Width†
To measure a molding's width, hold a ruler on the rear (back) surface of the molding and measure from the outside edge to the inner rabbet (rebate) edge, as shown in the sample photograph (left) with red arrows.
To use metal U-channel molding:
Measure the thickness of the metal (usually about 2mm, 1/16 inch) - and enter this size to calculate the cut lengths.
†You cannot alter this measurement without choosing a different molding for your frame.
5. Cut List
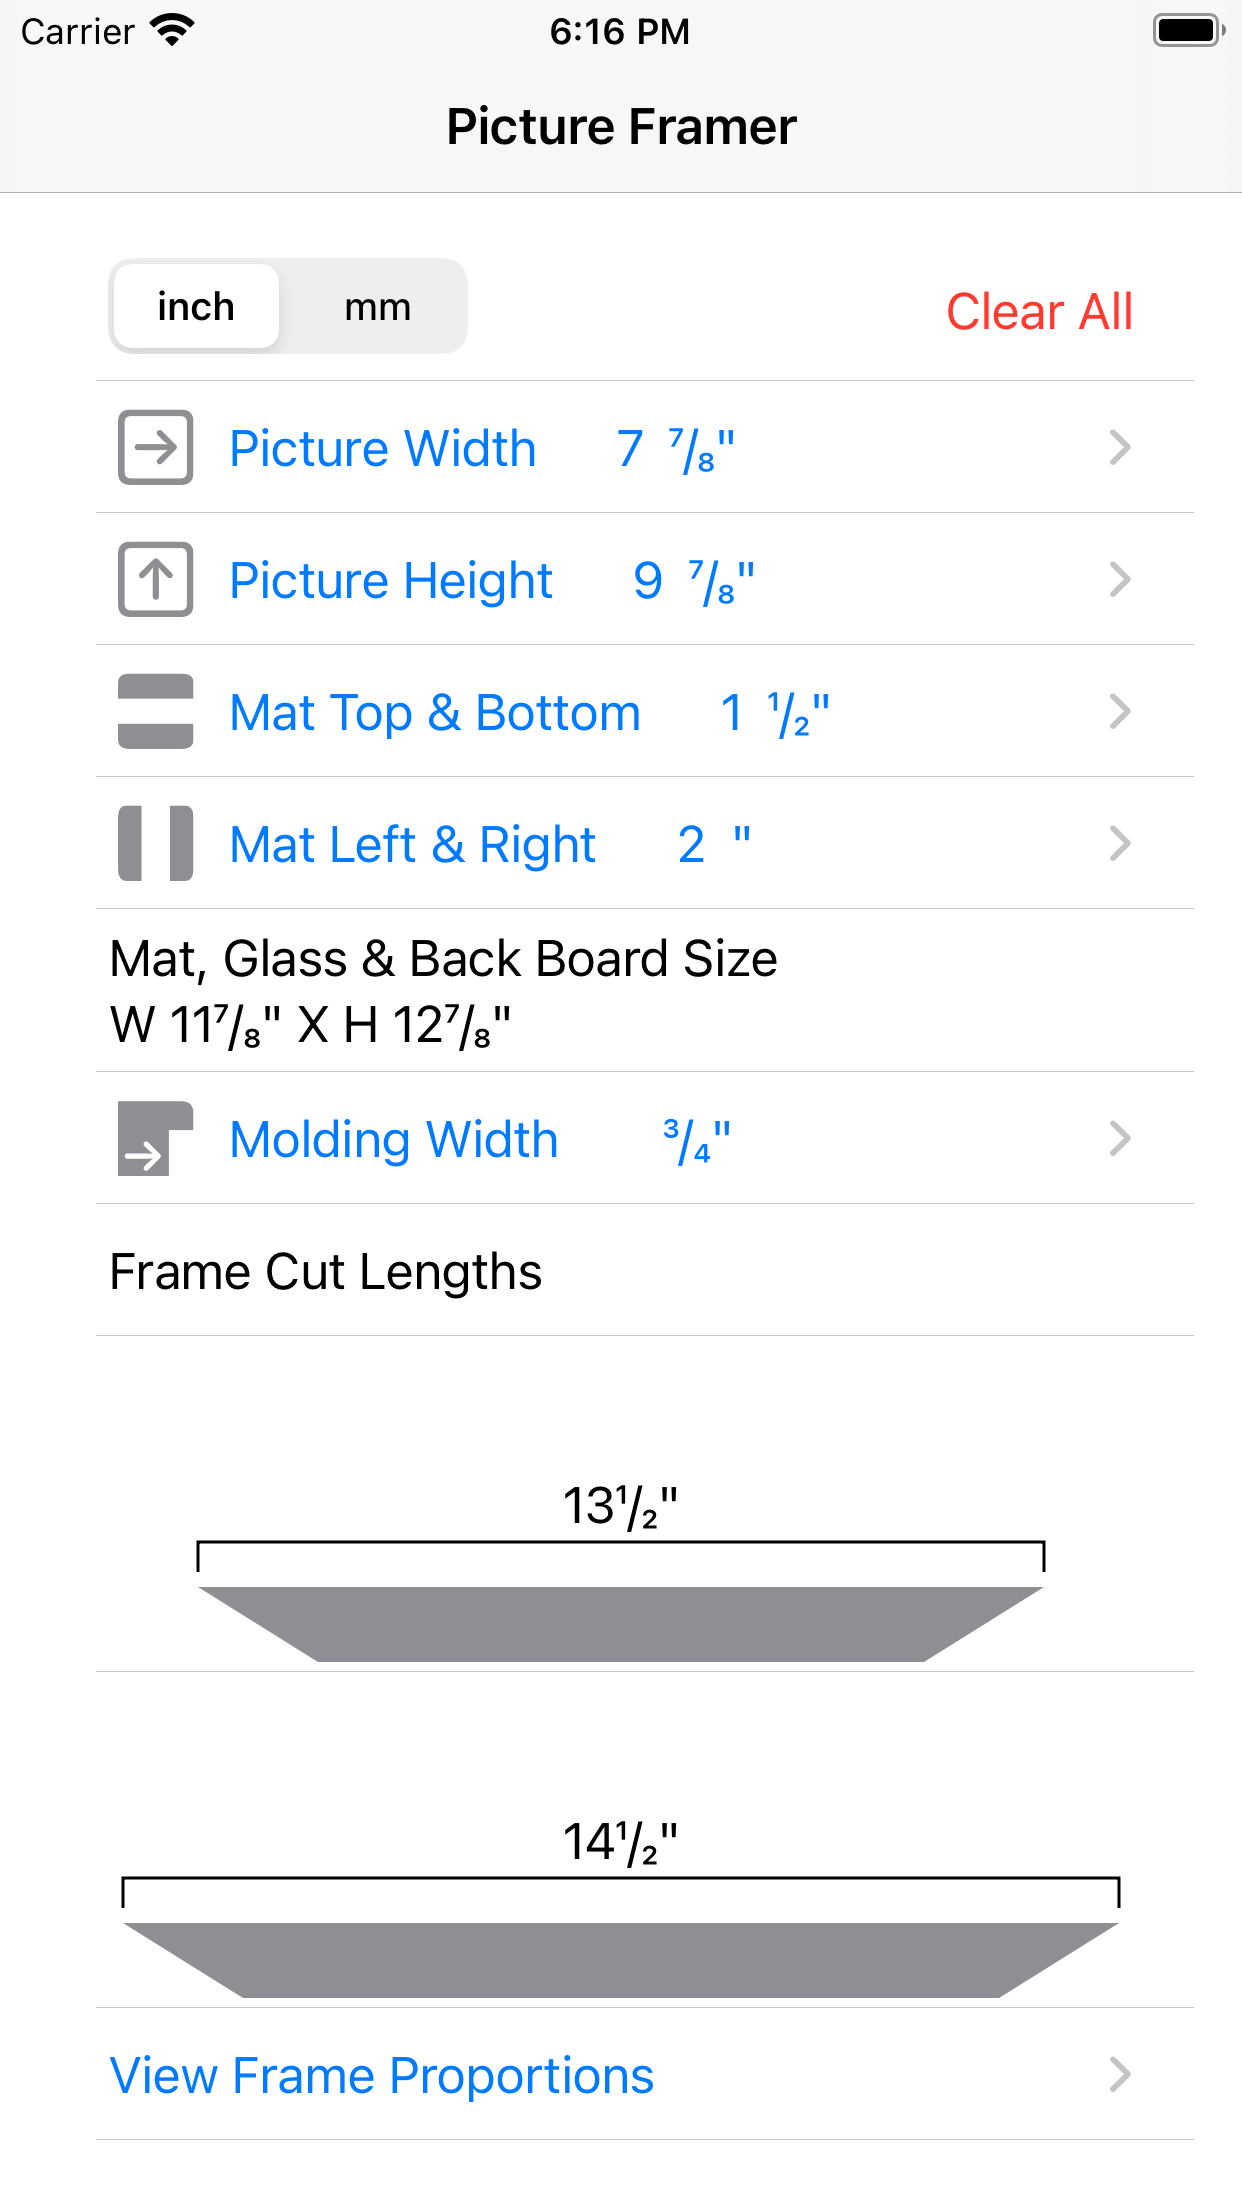
When you have entered sufficient measurements for a calculation to be made, the relevant cut list will be displayed on screen. Mat, Glass and Back Board size appear below Mat width measurements, and a dimensional graphic for frame molding length appears below the Molding Width measurement. For rectangle frames cut two lengths at each measurement. For square frames cut four lengths at the indicated length.
Frame calculation includes a standard 1/8" (3mm) clearance between the Frame and the Mat or Picture.
To record these measurements, take a screen shot of this view.
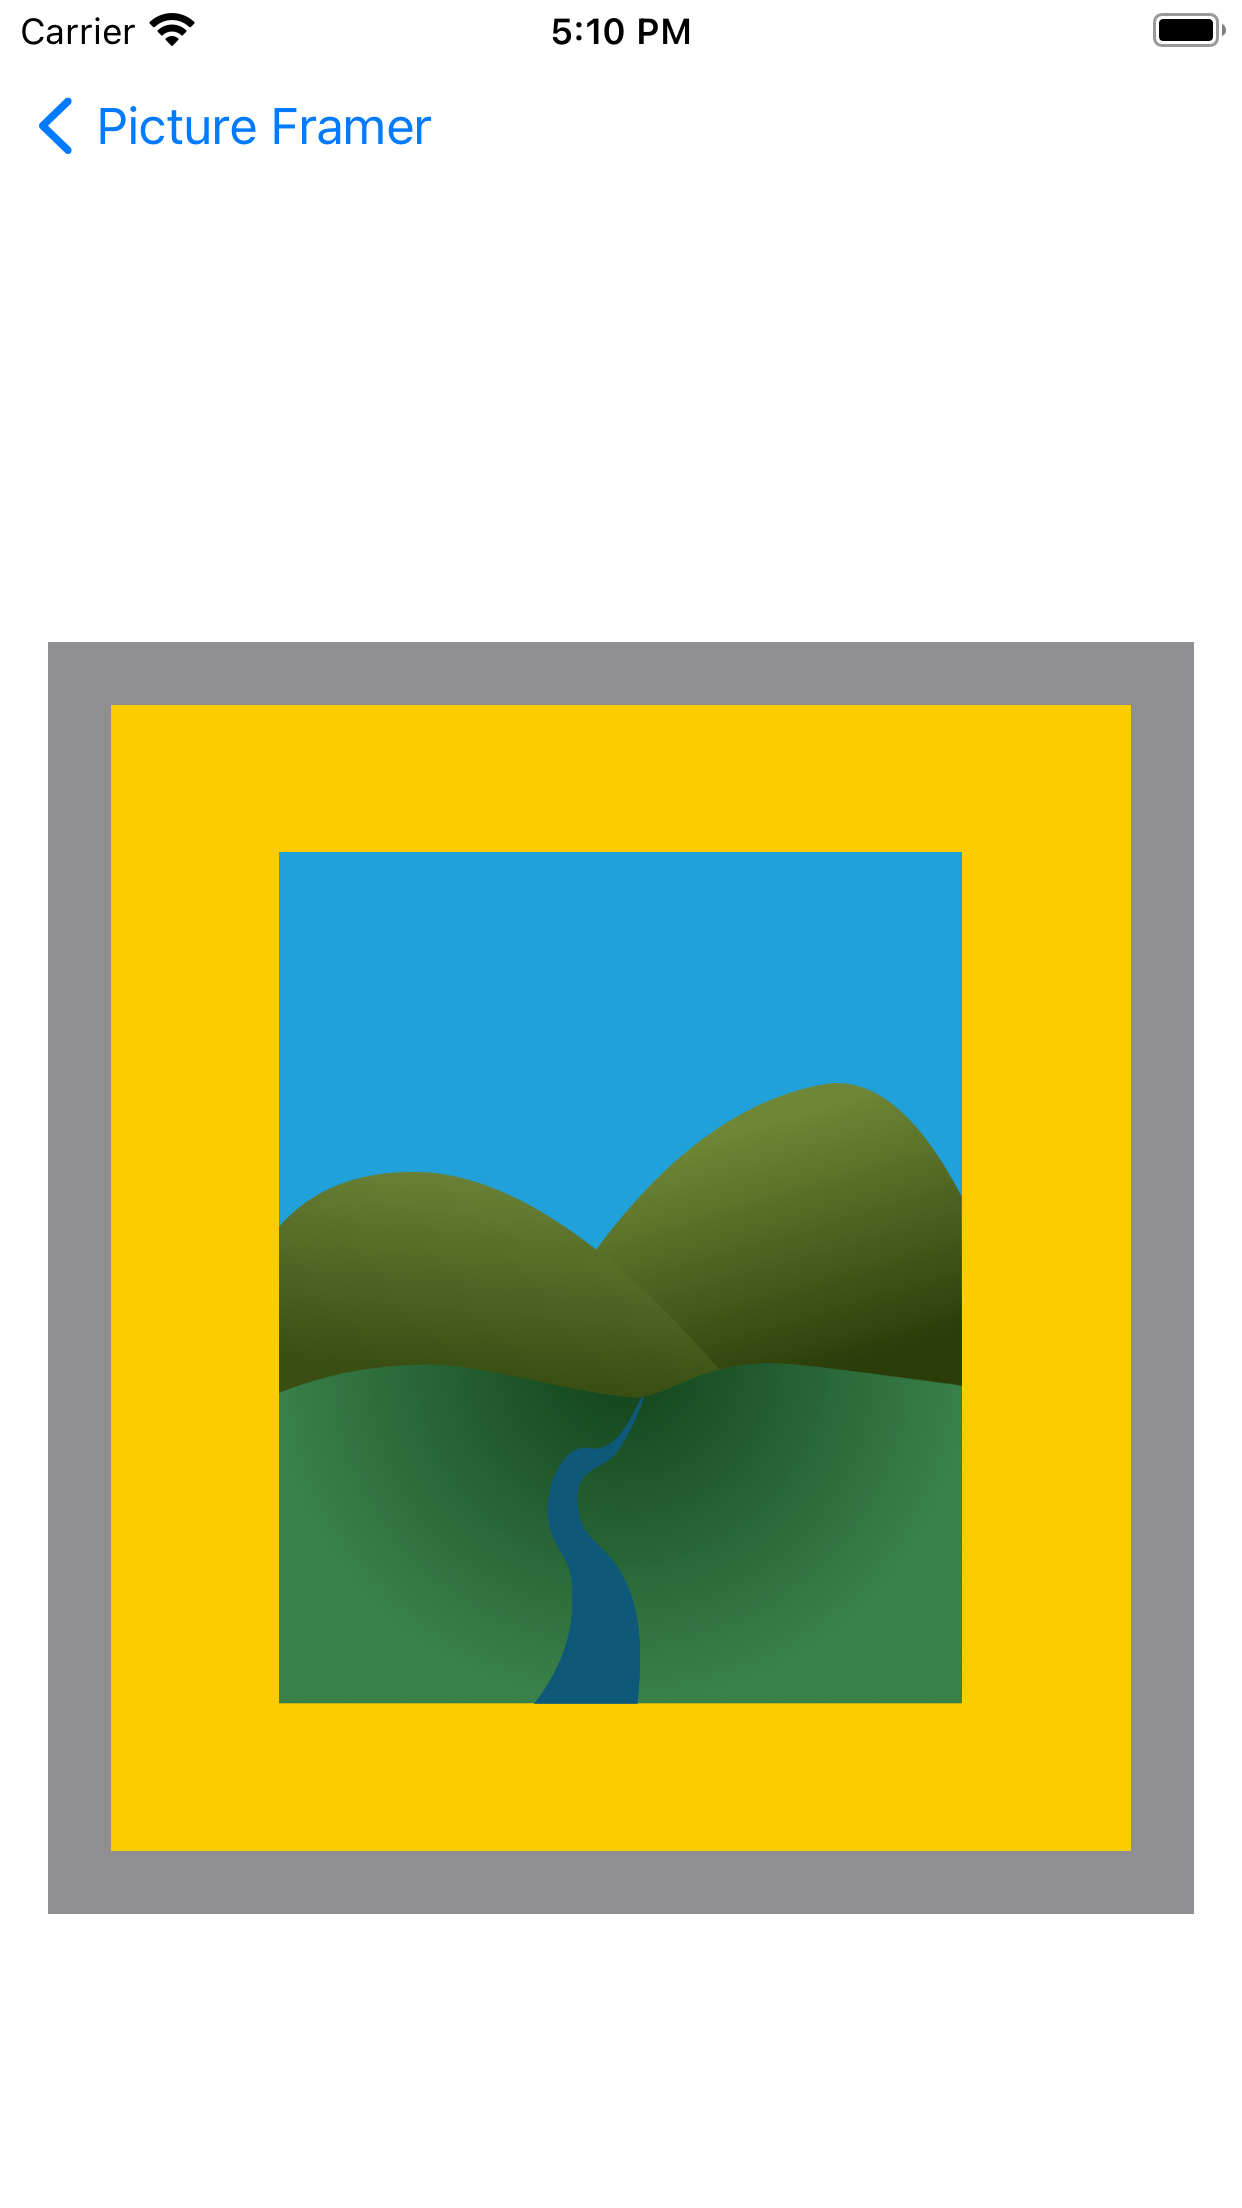
6. Frame Proportions
When you have entered sufficient measurements for a calculation to be made, the 'View Frame Proportions' Button, will be enabled (text turns blue). Tap this button to view a proportional representation of you frame measurements.
Tap the 'back' button to return to the main screen and alter your measurements or cut your frame.